If you only have a few seconds to impress a buyer, your listing photos have to do a lot of heavy lifting. Many buyers start their home search online, and photos are often one of the first things they use to decide whether a home is worth a closer look. If you are getting ready to sell in Des Moines, the right photo prep can help your home feel cleaner, brighter, and more inviting from the very first click. Let’s dive in.
Why listing photos matter
Online search plays a major role in how buyers find homes. In NAR’s 2024 reporting, 43% of buyers said their first step was to look online for properties, and 51% found the home they purchased through online searches. Buyers also viewed a median of seven homes, including two they saw only online.
That means your photos are not just a nice extra. They help shape whether a buyer clicks into your listing, saves it, or decides to schedule a showing. NAR’s 2025 visibility article found that 81% of buyers rated listing photos as the most useful feature during their online search.
Think of photo prep as staging
You do not need a full remodel to make your home photograph well. NAR defines staging as presenting a property in a way that highlights its strengths and helps buyers picture themselves living there. In most cases, that means decluttering, cleaning, and simplifying.
This matters because staging can improve how buyers respond to a home. In NAR’s 2025 staging survey, 83% of buyers’ agents said staging made it easier for buyers to visualize the property. Sellers’ agents also reported that staging can reduce time on market, and some said it increased the dollar value offered.
Start with the basics
Before photos are scheduled, focus on the tasks that make the biggest visual difference. These steps help rooms look larger, calmer, and easier to understand in pictures.
- Clean the entire home thoroughly
- Declutter every room
- Pack away personal photos and personal items
- Store toiletries, medicines, valuables, and firearms out of sight
- Remove bulky furniture that makes rooms feel tight
- Keep closets about half full rather than packed
- Touch up paint where needed with neutral colors like beige, gray, or soft white
- Put away decor that reveals highly personal preferences or distracts from the room
The goal is not to make your home feel empty. The goal is to create a neutral, comfortable backdrop so buyers can focus on the space itself.
Focus on the rooms buyers notice most
Not every room needs the same level of effort. NAR’s 2025 staging report found that the living room is the most important room to stage, followed by the primary bedroom and the kitchen. That gives you a smart place to start if you want the best return on your time.
Prep the living room
Your living room often sets the tone for the rest of the listing. Remove extra chairs, oversized furniture, and anything that blocks walkways. A simple, open seating layout usually photographs better than a room filled to capacity.
Keep surfaces mostly clear and limit accessories. A few well-placed items can look polished, but too many small objects create visual noise in photos.
Refresh the primary bedroom
The primary bedroom should feel restful and spacious. Use fresh bedding, keep nightstands simple, and clear off dressers or benches. If the room feels crowded, removing one piece of furniture can make a noticeable difference.
This is also a good room to double-check cords, laundry baskets, and personal items. Clean lines help the camera capture the room more clearly.
Simplify the kitchen
Kitchens tend to collect daily clutter fast. Clear countertops as much as possible, hide small appliances, and remove papers, magnets, and extra items from the refrigerator and sink area.
You want buyers to see workspace, storage, and layout. When counters are crowded, the kitchen can look smaller than it really is.
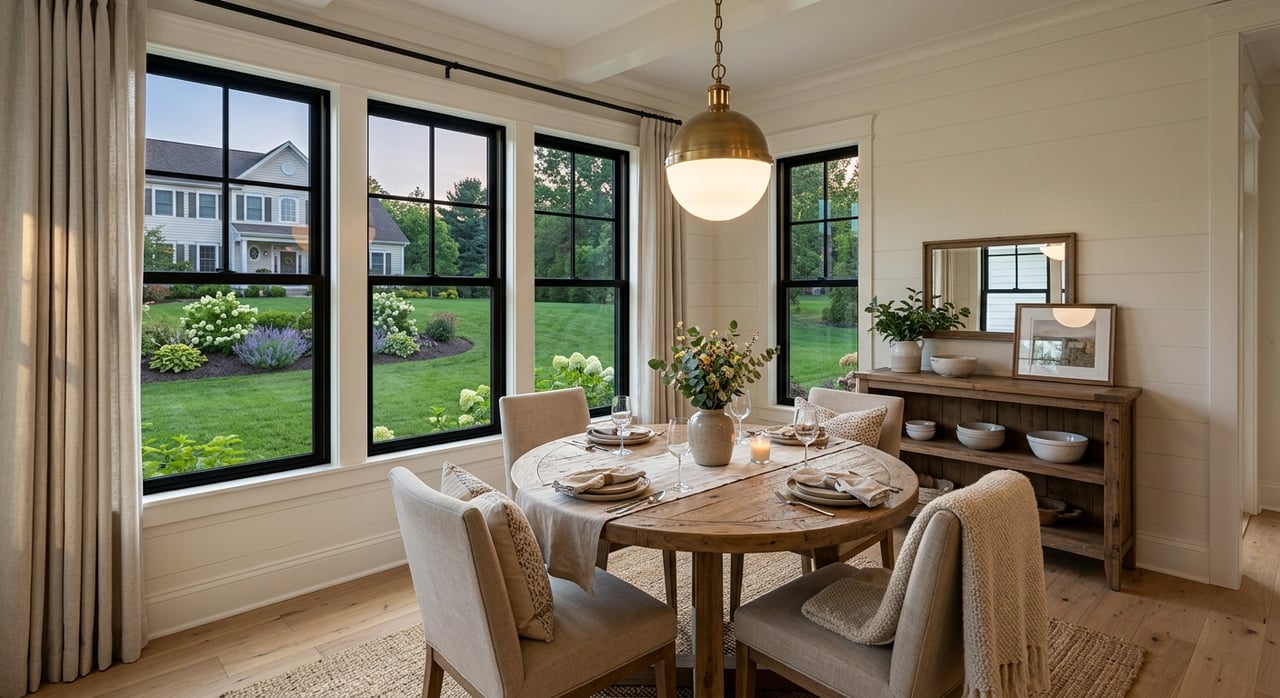
Tidy the dining room
A dining room does not need elaborate styling to photograph well. In most cases, a simple table setup or even a clear table works best. Keep chairs neatly placed and remove anything that makes the room feel busy.
This helps the space read as functional and open. Buyers should be able to see how the room fits into the home’s overall layout.
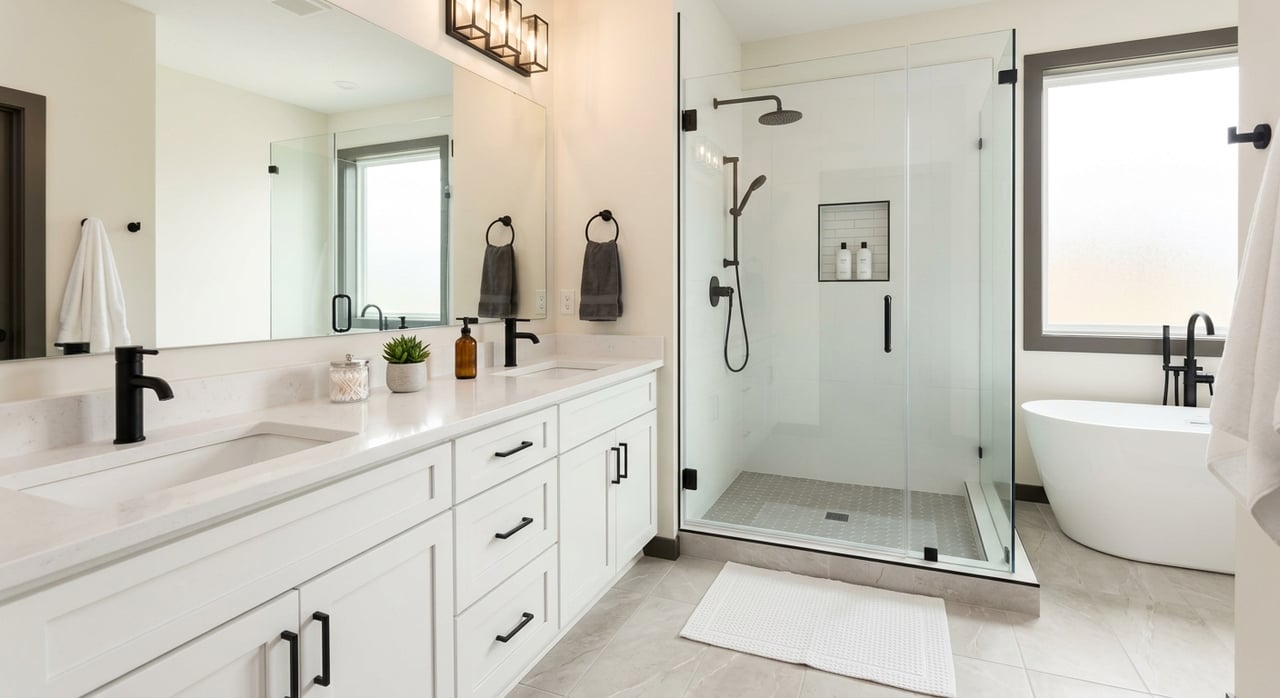
Clean up bathrooms
Bathrooms need to look crisp and fresh. Put away toiletries, toothbrushes, razors, and cleaning supplies. Add clean towels and make sure mirrors, counters, and fixtures are spotless.
Bathrooms are often small, so even minor clutter stands out in photos. A clear vanity can make the whole room feel more polished.
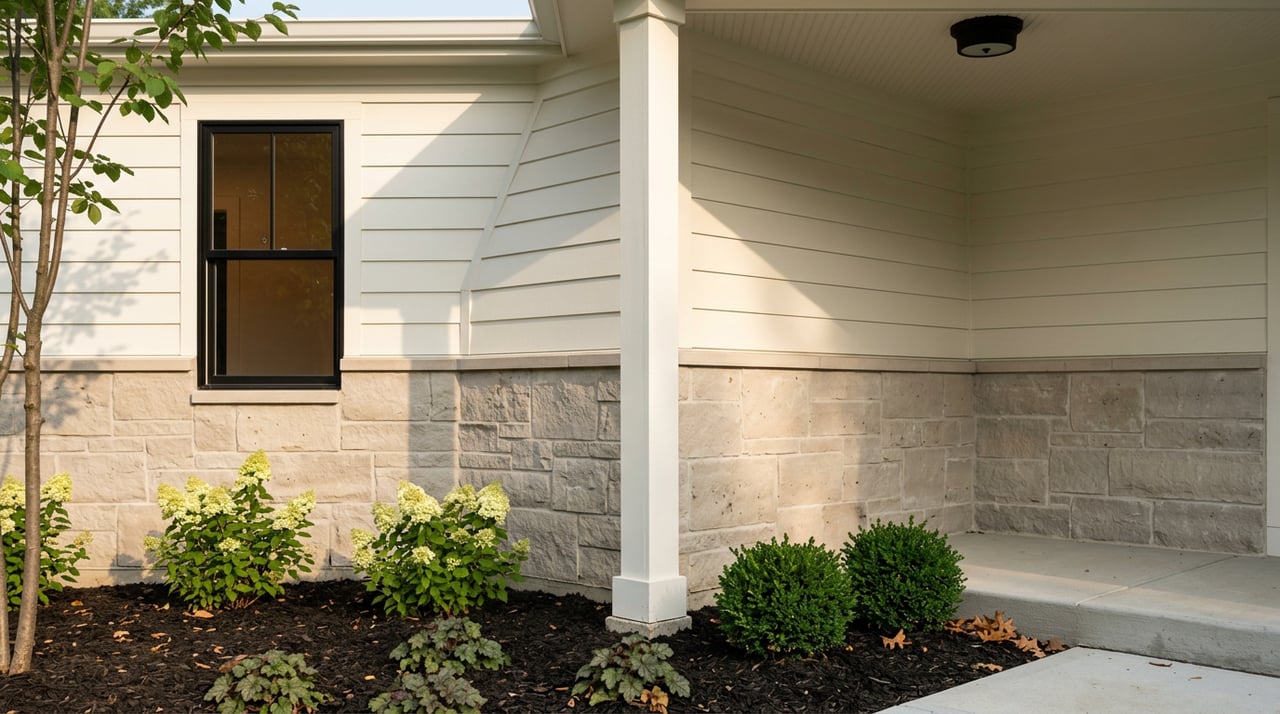
Do not forget the entry
The front entry creates your home’s first visual impression. NAR specifically points to simple improvements like a front-door mat, manicured landscaping, and small potted plants as easy ways to boost curb appeal.
Inside, keep the entry clear and welcoming. Shoes, bags, and pet items should be out of sight before photo day.
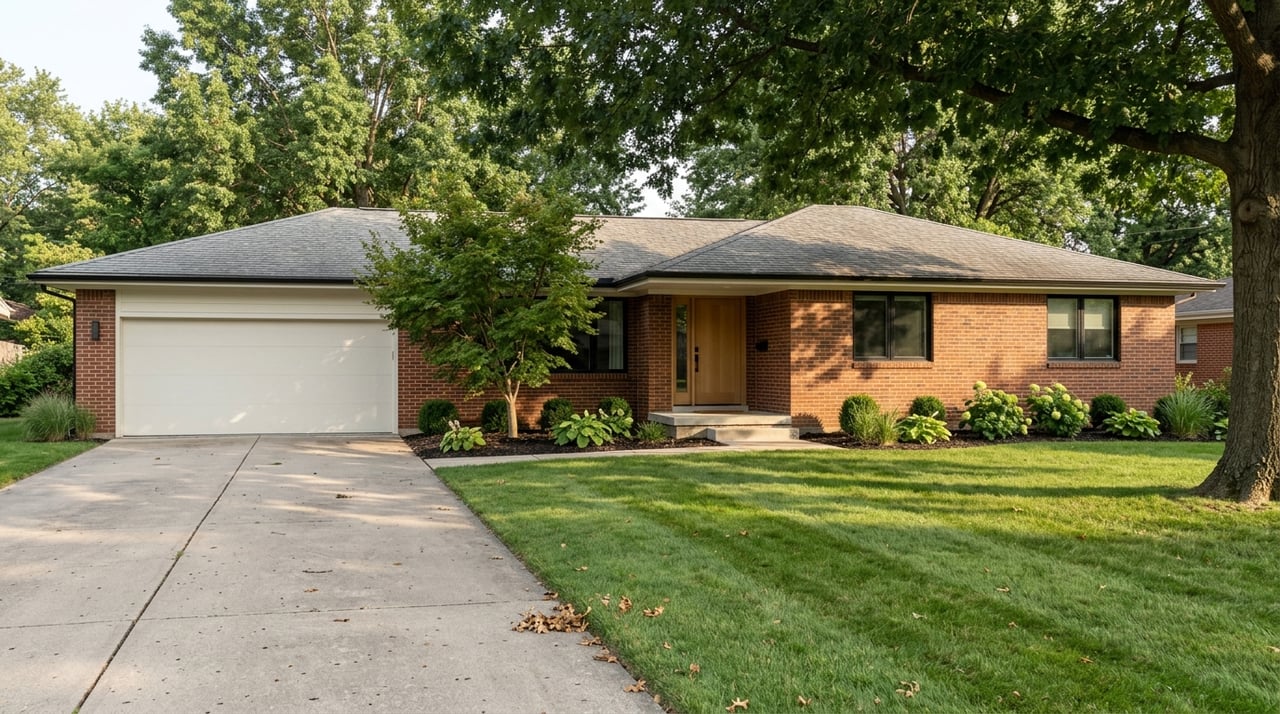
Use Des Moines weather to your advantage
In Des Moines, the weather can affect photo timing more than many sellers expect. Climate normals show an annual average temperature of 50.9 degrees, annual precipitation of 36.55 inches, and an average snowfall season of 36.5 inches. January and February are especially snowy on average.
Because of that, exterior photos usually look best on a dry, clear day when the driveway, sidewalk, porch, and yard are fully cleaned up. That is not a formal rule, but it is a practical way to make sure your home looks accessible and well cared for.
Winter and early spring photo tips
Snowy or messy conditions can distract from your home’s exterior. If you are listing during winter or early spring in Des Moines, take a little extra time to prep outside.
- Shovel and de-ice walkways
- Clear snow from the driveway and porch
- Clean up salt residue where possible
- Remove muddy items from the entry
- Check for puddles, slush, and debris near the front door
If your home is photographed during snowy weather, aim for a neat and honest presentation. You do not need to hide the season. You just want the property to look safe, tidy, and easy to access.
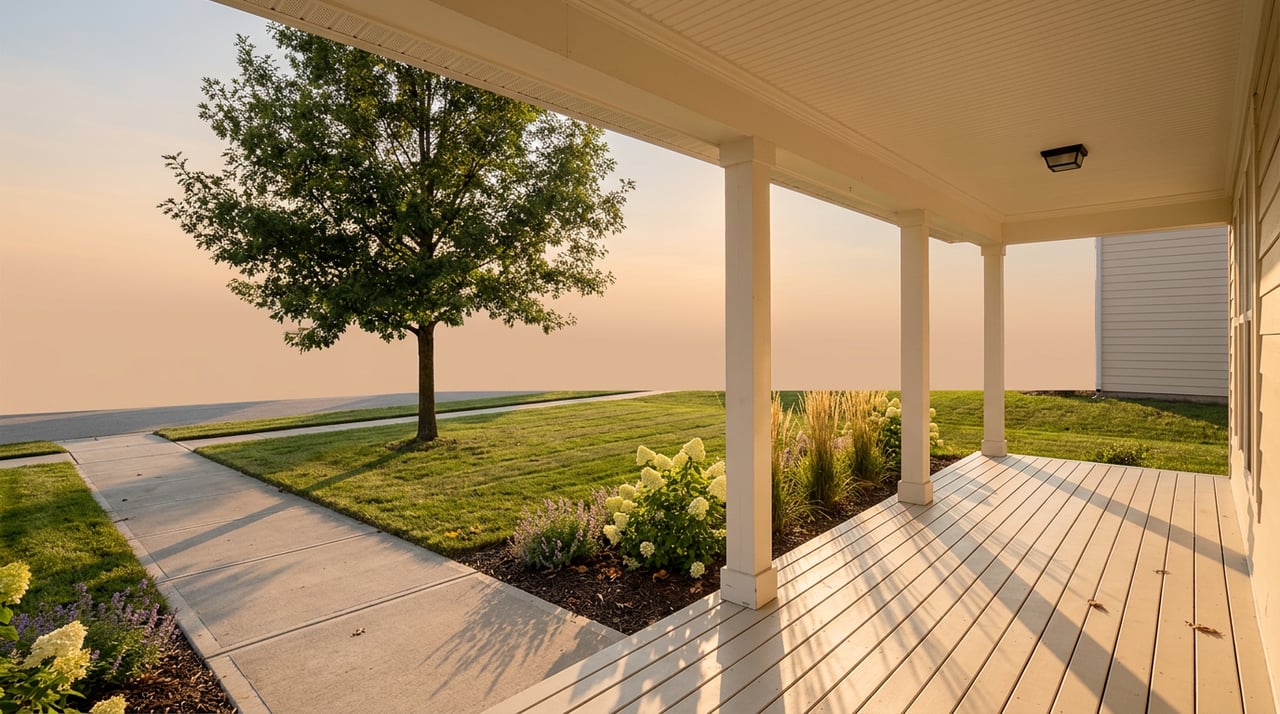
Warm-weather photo tips
In spring, summer, and early fall, curb appeal work can have a strong payoff. A freshly maintained yard often helps listing photos feel brighter and more inviting.
- Mow the lawn
- Edge sidewalks and beds
- Trim shrubs
- Sweep the porch and driveway
- Add a simple potted plant or seasonal accent near the entry
Keep it clean and restrained. A simple exterior usually photographs better than one with too many decorations.
Create a smart photo-day plan
The best listing photos usually happen when preparation is finished before the camera arrives. If you are still cleaning, moving boxes, or handling repairs at the last minute, that stress tends to show.
A smoother approach is to treat photo day like the launch point, not the starting point. Finish your prep first, then photograph the home once it is truly ready.
Your pre-photo checklist
Use this simple checklist in the final 24 to 48 hours before photos:
- Complete touch-up cleaning
- Open blinds or curtains as directed
- Replace burnt-out light bulbs
- Hide trash cans and pet supplies
- Remove vehicles from the driveway if possible
- Put away remotes, cords, and countertop items
- Make beds neatly
- Empty bathroom and kitchen trash
- Do one final walk-through from the front door to each main room
This kind of last pass helps catch the small details that stand out in pictures.
Professional photos are worth coordinating well
Zillow’s guide notes that professional real estate photography often costs around $150 to $200, though local pricing varies. It also notes that when a listing agent is involved, photography is often included as part of the agent’s services.
That is one reason a full-service team can make the process easier. When your agent helps coordinate staging, repairs, photography, and launch timing, you are less likely to rush the listing live before the home is ready.
Zillow also reports that 22 to 27 photos is the ideal range for a listing. Fewer than nine photos may reduce the chance of selling within 60 days, while more than 28 can become counterproductive. In other words, the goal is not to flood buyers with images. The goal is to show the home clearly, completely, and attractively.
You do not need perfection
Many Des Moines sellers assume they need to redesign the whole house before listing photos. In reality, that is often not necessary. NAR’s guidance supports a more targeted approach, and even partial staging or a professional staging consultation may be enough for many homes.
What matters most is that your home looks clean, neutral, and well cared for. When buyers can focus on the layout, light, and condition instead of clutter, your listing has a stronger chance to stand out online.
If you are getting ready to sell and want a plan that fits your timeline, budget, and home, the Ingrid Williams Real Estate Team can help you coordinate staging, marketing, and next steps with a clear local strategy.
FAQs
How important are listing photos when selling a Des Moines home?
- Listing photos are one of the most important online features for buyers, and they often influence whether someone clicks on a home, saves it, or schedules a showing.
Which rooms should you prioritize for listing photos in Des Moines?
- Start with the living room, primary bedroom, and kitchen, since these are the rooms NAR reports as the most important to stage.
What should you remove before listing photos of your home?
- Remove personal photos, toiletries, medicines, valuables, firearms, bulky furniture, and everyday clutter that makes rooms feel crowded.
When should you schedule exterior listing photos in Des Moines?
- Exterior photos usually look best on a dry, clear day when walkways, driveways, porches, and landscaping have been cleaned up.
Do you need full staging before listing photos for a Des Moines home sale?
- No. Many homes benefit from partial staging or a staging consultation, with the main goal being a clean, neutral look that helps buyers focus on the space.